WIND Turbine
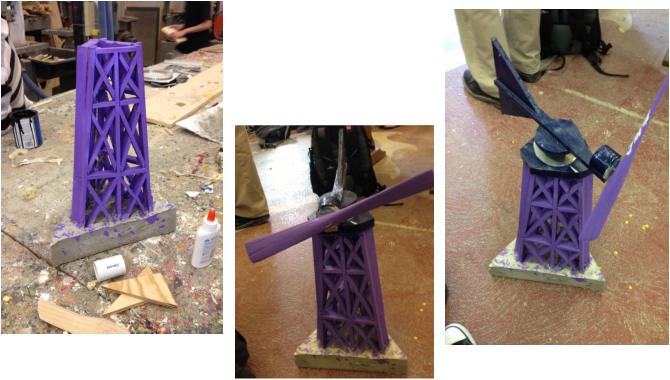
Our first project for term four was making a wind turbine. This was a partner project and my partner was Breanna. We came up with a design for the structure of our wind turbine on graph paper and ripped, cut, and measured the wood we needed. We then put all the pieces together according to our drawing and did this three times. We took those three pieces and glued them together, making a triangle. After we created this, we created a wooden border to put concrete in it to make the base. Breanna worked on the propeller while I was working on the concrete and painting the structure. After letting the concrete dry, I took the wooden border off. We put a piece of wood at the top of the structure along with a piece of sheet metal so the propeller would be allowed to move. We then drilled a whole in the piece of wood which had a motor at the front of it and a tail at the back and connected it the top of the structure. After finishing the project, we had to measure how fast our propeller spun. Someone took our propeller when we weren't there and scraped it all up. Mr. Ramos let us pick a propeller from last year and it measured the speed of .64. What I would have done differently was make the propeller lighter so it could spin faster.
Block Name
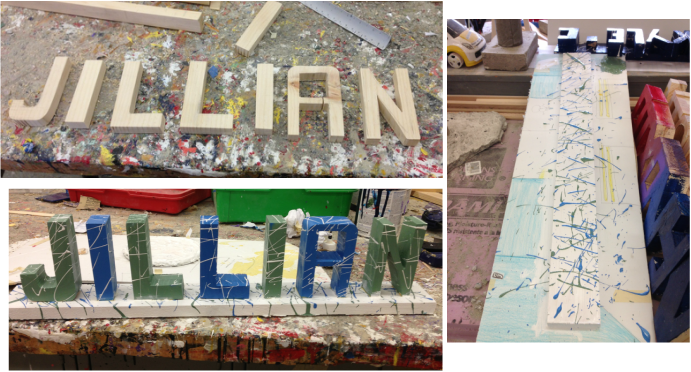
For this project you had to make your name, using 6-7 letters. The letters had to be 5 inches high and 3 inches wide. We had to strip a piece of wood and measure and cut every three inches. I drew my initials on them and cut them out using the ban saw. I cut another piece of wood for the base of my letters. I made the green color with green and white and made the blue color with blue and white. I painted the base white and then splattered the blue and green color on the base and then I splattered white on the letters. I glued the letters on the base and my project was complete. What I would do differently next time is create a different style of lettering and use different colors.
Model airplane
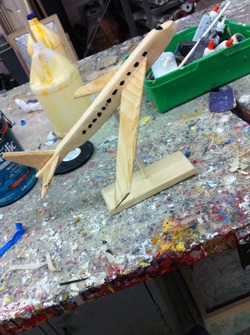
Our next project was making a model airplane of a Boeing 747. We were given a piece of paper with all the measurements of the plane on it and all we had to do was convert all the measurements in inches, by moving the decimal point over. I first made the body of the plane, then made the wings and tail. You had to sand the edges down to make it look like the design, you had to make the sides of the wings and tail come to a point. After I made all the pieces of the plane, I glued all the parts together and started to make the base. I made the base with a piece of wood I sanded. I drilled a hole into the plane and the base and connected them with a dowel. After that, I painted the windows on the plane and painted it with a clear gloss. What I would have done differently was make the plane on the dowel at a little more of an angle.
airfoils
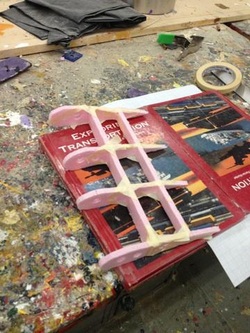
For our final project, we had to create an airfoil. First, we drew the ribs four times on pink foam and cut it out using the bansaw. We then cut it into three and glued it on two more pieces of foam, measuring 11 inches. (As seen in the picture.) After that, we wrapped it with pieces of paper. The airfoils will be placed into a wind tunnel and will be tested to fly for at least 5 seconds.
